.png)
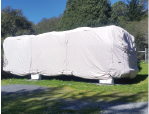
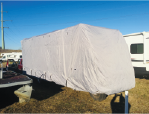
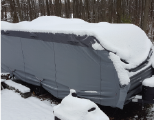
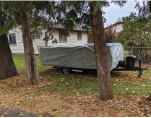
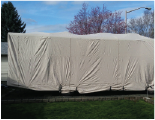
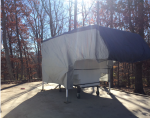
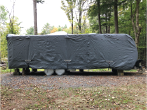
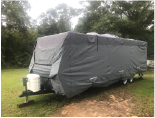
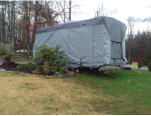
The S2 Expedition RV Cover from Eevelle is a feature rich cover with outstanding performance characteristics. Today we will be installing one on a Toy Hauler Trailer. Begin by unpacking the product. Open the box and remove the cover. Open the zipper and note the items included with the cover. A ladder cap goes over the ladder to help protect the cover. The printed guide goes over instructions for care and installation. A handy reinforcement patch is added to help reinforce or repair the cover. The strap kit includes straps for the roof load support system and for the belly straps. A toss bag helps to make securing the belly straps easier. Once you have unpacked the cover prepare to lift it to the roof of the RV. This can be achieved by carrying it up the ladder, or by attaching a rope to the cover and hoisting it up to the roof. It is recommended to 2 people perform the installation if possible. This will make the job much simpler. Once you have the cover on the roof its time to prep the rv for cover installation. If your RV has gutter spouts or other sharp objects it is important to cover them to prevent tearing the cover. To install the cover roll it out along the length of the RV. Make sure you have the FRONT OF COVER label at the front. Then drop the sides over the edge and let them fall. Do the same with the rear And the front Next, install the load bearing roof strap system. Click the ends of the strap into the buckles and tighten until the strap is taking the load of the side wall. Climb down off the roof. Be sure to leave the ladder cap in place under the cover. Close all the zippers and secure the Velcro fasteners at the bottom. Use the full height front and rear flags to fold in any excess material and secure with the heavy duty strap and buckle set. Take the throw bag and add some weight. Roll the top of the bag down and secure it. Clip one end of the belly strap to the throw bag Clip the other end to the tension flag. Throw the bag under the RV Collect the bag on the other side, detach the clip from the bag and attach to the tension flag. Repeat this process until all of the tension flags have straps. Tighten all straps to achieve a snug fit, but do not overtighten. Your cover is equipped with multiple zippers on the sides and rear. You can use these to easily access your RV without having to remove the entire cover. The S2 Expedition RV cover by Eevelle is sure to help protect your RV for many years to come.