.png)

Table of Content
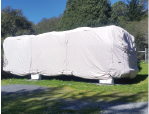
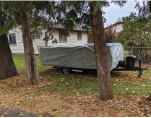
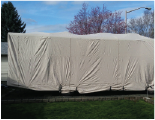
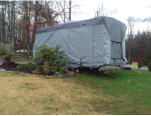
You invested in a travel trailer cover to protect your RV from the elements. Smart move. But now you’re staring at a giant, heavy blob of fabric, wondering if you're about to get into a wrestling match that ends with you on your back, covered in tarp and regret. Don’t worry—we’ve got your back.
Installing a cover for your RV travel trailer doesn’t have to be a frustrating disaster. In fact, if you follow the right steps, it’s surprisingly manageable. This guide walks you through exactly how to install and secure it like a pro.
Let’s get into it.
Why Bother With a Travel Trailer Cover?
Before we get tactical, let’s quickly talk about why you should care.
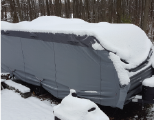
Your RV sits outside and takes a beating—sun, rain, snow, tree sap, bird droppings, and even rogue squirrels trying to use your roof as a racetrack. Over time, all of that damages the roof, fades the paint, and turns rubber seals into brittle, leaky liabilities.
A travel trailer cover is like a garage for your trailer. It blocks UV rays, sheds water, and keeps out junk. It also prevents mold and mildew by being breathable (yes, good covers do that). The bottom line? You’ll spend less money on repairs, and your RV will last longer.
Now let’s talk about how not to mess it up.
What You’ll Need
Here’s what you need before starting:
- A quality travel trailer cover that fits your RV (don’t cheap out here)
- A ladder (6- or 8-foot should work for most trailers)
- Soft rags or towels (to pad sharp edges)
- A helper (optional but highly recommended)
Step 1: Clean Your RV
Do not throw a cover over a dirty trailer. Dust, bird droppings, and sap will get trapped under the fabric and act like sandpaper. Every time the wind moves the cover, it’ll grind that grime into your finish.
Do this instead:
- Wash your trailer top to bottom.
- Dry it completely. Moisture trapped under a cover = mold factory.
- Pay extra attention to the roof. Out of sight = often ignored = full of leaves.
This step alone saves you hundreds in future paint and seal repairs.
Step 2: Check for Sharp Edges and Cover Them
Your trailer has sneaky little knives disguised as corners, lights, antennas, and rain gutters. These will rip your brand-new cover faster than you can say “warranty voided.”
Here’s what to do:
- Walk around your trailer.
- Identify anything pointy or sharp.
- Cover them with soft rags, foam pipe insulation, or even old T-shirts and duct tape.
Yes, it looks silly, but it works.
Step 3: Unfold the Cover—The Right Way
Here’s where most people mess up. They open the package, drag out the cover, and try to “figure it out” as they go. Don’t do that.
Here’s how to do it right:
- Unfold the cover on the ground beside your trailer.
- Identify the front, back, top, and sides. Most covers are labeled, but if yours isn’t, the front usually has zippered panels and mirror pockets.
- Fold it lengthwise like a hot dog bun—outside facing in. Why? So you can roll it up and lift it to the roof without dragging it across gravel or your own face.
If you're working alone, this part can be awkward. Take your time. Wrestle it now, not when you’re 10 feet off the ground.
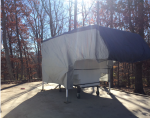
Step 4: Position the Cover on the Roof
Here comes the climb. Get your ladder, and carefully bring the folded cover to the top of the RV. If you’ve got a helper, now is their time to shine. If not, you’ll do fine—just move slowly and don’t rush.
Once you’re on top:
- Place the rolled-up cover in the middle of the roof.
- Unroll it toward the front and back.
- Start unfolding it across the sides.
The goal is to let gravity work for you, not against you. Drape the sides over the edges, keeping the cover even on both ends. Adjust as needed.
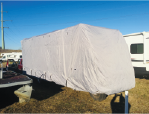
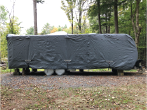
Step 5: Secure the Cover from the Bottom Up
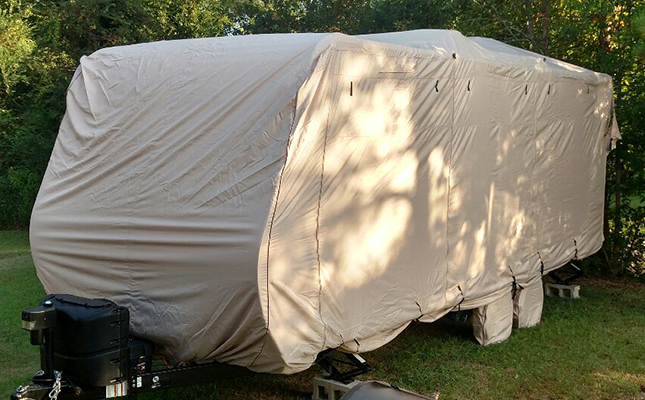
Most covers for RV travel trailers come with built-in straps and buckles that go under the trailer and cinch everything tight. Now’s the time to put them to use.
Start with the corners:
- Pull the cover down over each corner.
- Adjust so it sits snugly, not bunched, not flapping.
Then move to the middle:
- Buckle the straps underneath the trailer.
- Don’t yank like you’re tightening ratchet straps on a Harley. Firm and snug is the goal, not ripped seams.
- Adjust all sides evenly.
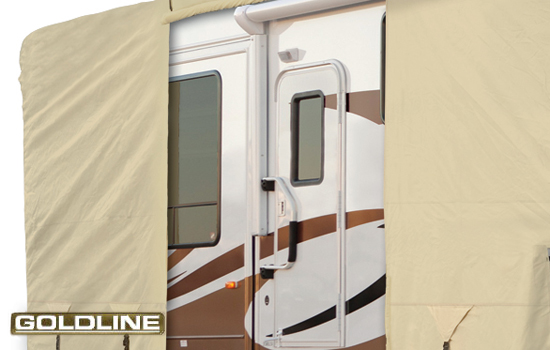
If your cover has zippered access panels, make sure they’re aligned with doors or compartments so you can get in later without removing the whole thing.
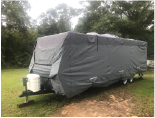
Step 6: Reinforce It Against Wind
Covers are like parachutes. Give them enough slack and the wind will grab them—and tear them to shreds. You need to outsmart the wind.
Do this:
- Use extra bungee cords or RV cover wind straps to secure high-stress areas.
- If your area gets gnarly gusts, consider tire anchors or wheel straps.
- Check the cover every week or after storms.
Flapping = friction = damage. A well-secured cover hugs your trailer like it owes it money.
Final Thoughts
Look, installing a cover for an RV travel trailer is not glamorous. You’re climbing ladders, wrangling fabric, and sweating in places you didn’t know could sweat. But if you care about your RV lasting more than a few seasons, it’s 100% worth it.
Cut corners, and you’ll pay the price—literally. Roof damage, moldy seals, and sun-rotted exteriors are expensive. A few hours of effort now saves you thousands later.
So take your time. Do it right. Secure it tightly. And the next time it hails or the sun’s beating down like an oven, you can relax knowing your trailer’s covered—literally and figuratively.