.png)
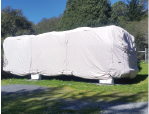
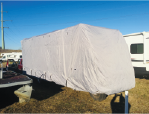
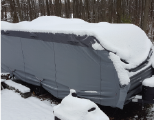
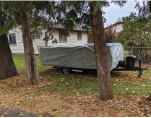
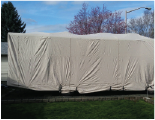
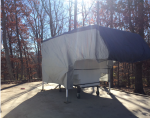
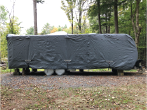
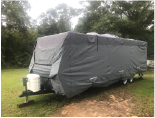
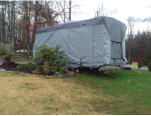
Since 1995, National Covers has been the leading supplier of RV covers, carrying the widest variety of quality RV cover brands on the market. This short video will go over proper RV cover installation techniques to help make sure you get the best out of your new RV cover. Begin by unpacking the product and taking the cover out of the stuff sack. Be sure to PAD ALL SHARP EDGES, SHARP CORNERS that could snag or tear a hole in the cover; including gutter spouts. Fold in mirrors if applicable. Lift the cover onto the roof of the RV by carrying up a ladder, or by tying a rope around the cover and pulling it up onto the roof. Place the end with Front of Cover label at the front and unroll the cover toward the rear. Spread the RV cover fabric from the center toward the edges and let it drape over the sides of the RV. Close all the zippers and secure the velcro fasteners at the bottom. Use the front and rear tensions flags to fold in any excess material and ensure a snug fit. Add some weight to the provided throw bag; such as rocks. Use the throw bag technique to secure the belly straps to the side buckles. Tighten straps to ensure a snug and tight fit. Don’t over tighten. Zipper panels allow you to easily access the interior of your RV when stored. National Covers has been the leading supplier of RV covers, carrying the widest selection of high-quality RV cover brands on the market since 1995. National Covers - America's trusted cover source since 1995.